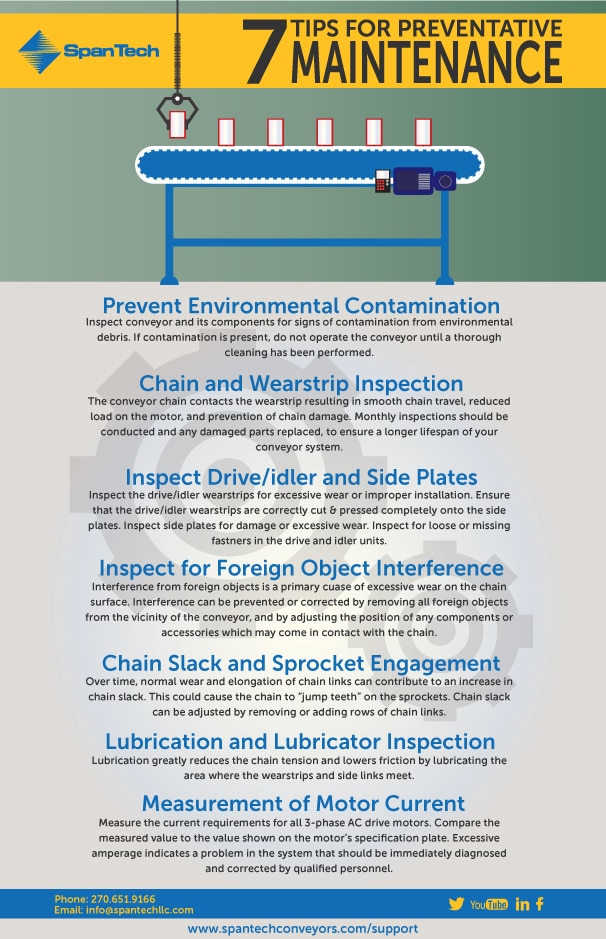
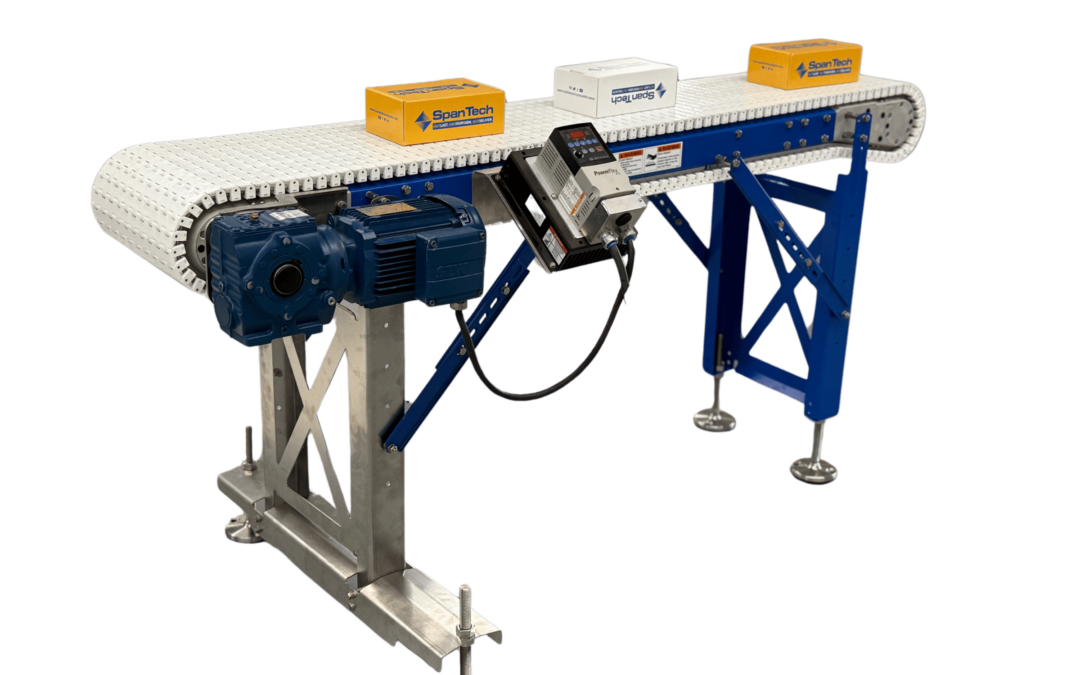
Your Conveyors are one of the most important pieces of equipment you can have. Without them running properly and efficiently you run the risk of slowing down and jeopardizing the entire production process. Each conveyor system should be inspected regularly, and the results of each inspection recorded. While our conveyor systems are a complex engineered system, routine maintenance can be covered in only seven (7) basic steps. Each of these items should be checked to ensure a long, reliable conveyor life. If you have questions regarding any topic or problem not covered in this guide, feel free to contact Span Tech for technical assistance.
Consistent preventive maintenance is a necessary safety practice. Regularly performed, preventive maintenance practices can help prevent damage to equipment and injury to personnel.
1. Prevent Environmental Contamination
Inspect conveyor and its components for signs of contamination from environmental debris. If contamination is present, do not operate the conveyor until a thorough cleaning has been performed to remove the contamination. Some components in a conveyor, especially the chain and wearstrips, can become contaminated by harsh or abrasive materials. Over time, small abrasive particles can become embedded in a conveyor’s plastic parts. This leads to excessive friction between the chain and wearstrip, and can ultimately reduce performance. A common source of abrasive contamination is construction occurring in the area of an exposed conveyor. Drilling, grinding, sawing, sanding, and other processes produce airborne abrasive dust which can build up on a conveyor.
Examples of abrasive materials include:
- Ceramic Dust
- Metal Chips
- Concrete Dust
- Sugar
- Paper/Wood Dust
- Sand
- Medical Tablet Dust
- Broken Glass Particles
- Crumbs
- Cornmeal
Sources of contamination include:
- Construction
- Airborne Deliver
- Manufacturing Processes
- Product Flaking
- Product Spillage
- Overhead Equipment
Most abrasive contaminants can be removed by wiping down the top and bottom sides of the wearstrips, using a cloth moistened with rubbing alcohol.
2. Chain and Wearstrip Inspection
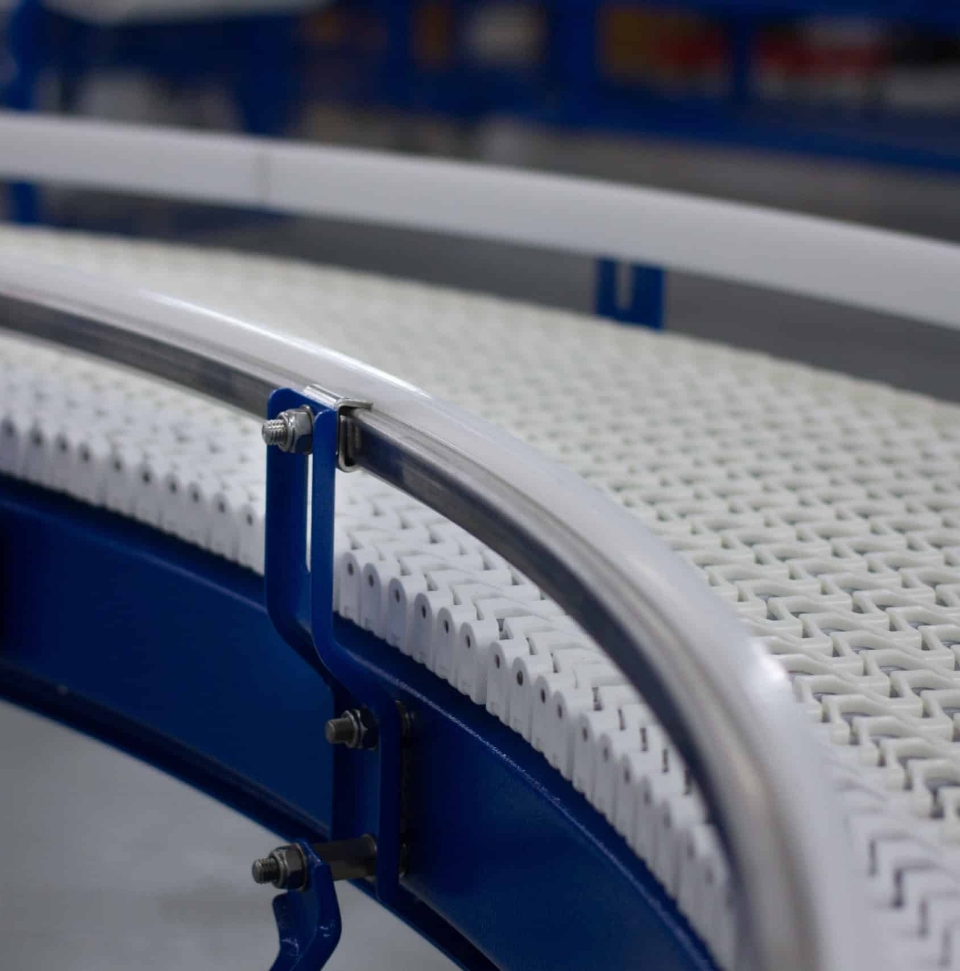
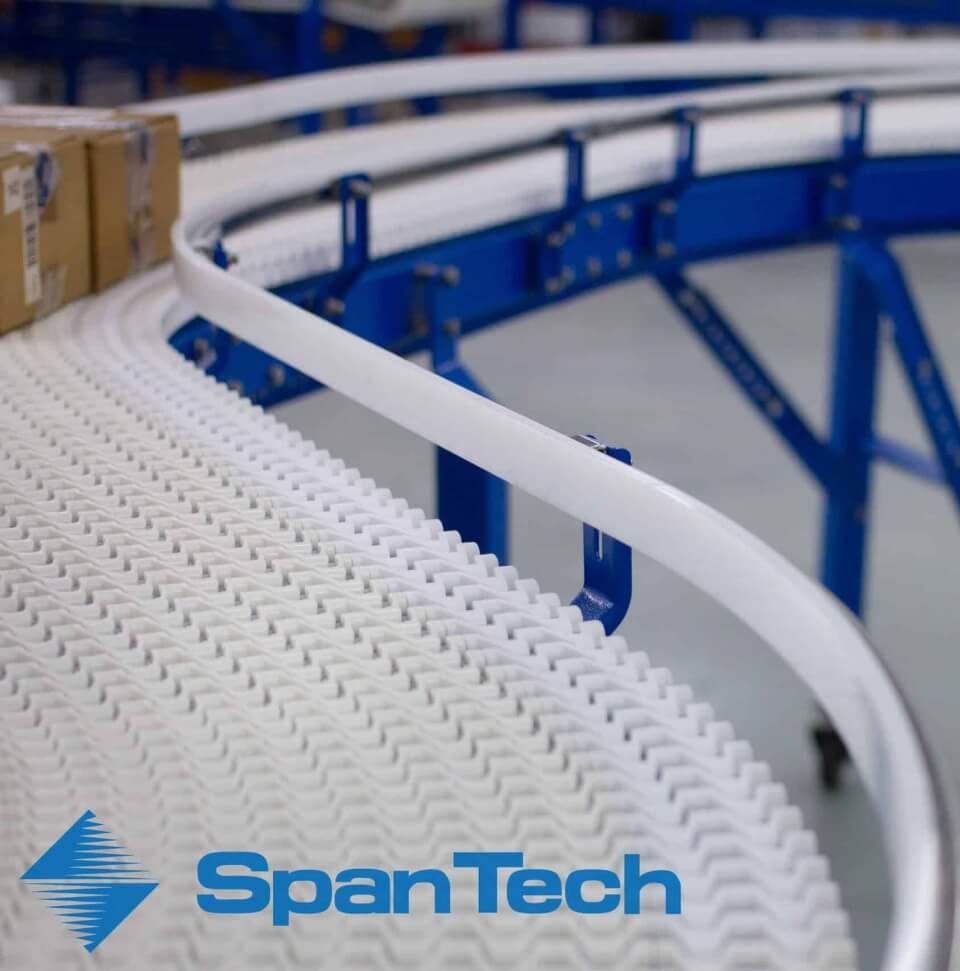
The wearstrip is one of the most important features of a Span Tech conveyor system. The conveyor chain is designed with legs on the outer (side) links that hook around the lips of the conveyor side frame. Typically, a Spanlon wearstrip is fitted over the lips of the side frame. The conveyor chain contacts the wearstrip resulting in smooth chain travel, reduced load on the motor, and prevention of chain damage which could be caused by direct metal contact. A derailed chain is most often caused by wearstrip problems. Special attention must be given to the installation, maintenance, and repair of the wearstrips.
- Inspect the conveyor chain for broken links. Damage to chain can occur by dropping a heavy item on the chain links, or by a process jam. Promptly replace any broken links. The links immediately before and after the broken links should also be replaced due to possible material fatigue.
- Inspect the chain-link Lock Tabs. It is very important to verify that all chain-link Lock Tabs are properly in place. If not broken, snap any loose tabs back into place using a flat screwdriver. If broken, replace immediately.
- Inspect the leg and foot tab of the side links for wear. If leg or foot tab measures less than dimensions shown in right-hand columns above, link is excessively worn and should be replaced.
- Inspect wearstrips to verify that all are in place and are properly installed. The wearstrip sections must not overlap. The ends of the wearstrip sections must be cut at the correct angle for the chain travel direction, and the gap width between sections must be sized according to temperature. NOTE: For bidirectional conveyors, the wearstrips should be cut “square” and positioned end to end (touching).
- Inspect wearstrips for signs of overheating.
3. Inspect Drive/Idler and Sideplates
The drive/idler wearstrip is a key element in the design of the drive and idler units. This curved wearstrip guides the chain around the side plates and carries the load as the chain travels around the sprockets.
- Inspect the drive/idler wearstrips (often called “horseshoes”) for excessive wear or improper installation. Ensure that the drive/idler wearstrips are correctly cut, pressed completely onto the Side Plates, and correctly pinned. The wearstrips must not be disengaged from the ends of the Side Plates.
- Inspect Side Plates for damage or excessive wear.
- Inspect for loose or missing fasteners in the drive and idler units.
4. Inspect for Foreign Object Interference
Interference from foreign objects is a primary cause of excessive wear on the chain surface. Interference can also result in broken chain links and rods, and damage to the conveyor drive and idler sprockets. If the drag becomes great enough, the motor current will increase and the Side Plates can fail. Interference can be prevented or corrected by removing all foreign objects from the vicinity of the conveyor, and by adjusting the position of any components or accessories which may come into contact with the chain.
- Inspect chain for any foreign objects that may be interfering with chain movement. Adjacent machines or conveyors must not be in contact with the moving chain.
- Ensure that no interference is occurring at the loading or unloading points of the conveyor system.
- Inspect transfer devices to ensure that components (transfer plates, transfer fingers, etc.) are not contacting the moving conveyor chain.
- Ensure that all guide rails, guide rail brackets, raised side walls, chain support rails, drip tray brackets, and other accessories and components are clear of the conveyor chain.
- Inspect entire conveyor for bolts, fasteners, tools, and other debris.
5. Chain Slack and Sprocket Engagement
Over time, normal wear and elongation of chain links can contribute to an increase in chain slack. An improper amount of slack in the chain can lead to excessive motor current. It can also cause the chain to “jump teeth” on the sprockets. Chain slack can be adjusted by removing or adding rows of chain links.
- Check the overall amount of slack in the chain (3 to 4 links compression recommended).
- Check for excessive chain slack immediately after the drive sprockets.
- Ensure that the sprocket teeth are not engaging or contacting any High Friction chain links.
6. Lubrication and Lubricator Inspection
Conveyor Systems WITH Lubricators:
- Check the adjustment of wearstrip lubricators.
- Check the fill level of the lubricator reservoir; add lubricant if needed.
Conveyor Systems WITHOUT Lubricators:
(Manually Lubricate wearstrips, as follows)
- Where your operation and product allow, use SpanLube silicone oil (Span Tech part number DS0000). SpanLube greatly reduces the chain tension and lowers friction by lubricating the area where the wearstrips and side links meet.
- With the conveyor STOPPED, lightly drip oil in the area where the conveyor chain and wearstrip meet on the bottom side of the conveyor. The chain will then distribute sufficient lubrication to the rest of the system.
- Do not use silicone oil if your product will be contaminated by the oil. Once silicone oil is applied, it is very difficult to remove.
Powered Roller Transfers:
- Inspect the oil level sight glass on the Transfer Chassis oil reservoir. Refill with lubricant as needed.
Gearmotor Lubrication:
- Inspect the lubricant levels in the motor gearboxes, following the guidelines recommended by the manufacturer. Refer to the manufacturer’s documentation.
7. Measurement of Motor Current
Measure the current requirements for all 3-phase AC drive motors. Compare the measured value to the value shown on the motor’s specification plate. Keep a log of the measured values.


